Whether you’re an amateur photographer or a pro, the same photography tip applies: the best camera you can have is the one that’s with you. No camera, no picture!
The truth is, even the pros don’t always have their cameras with them, and sometimes they miss once-in-a-lifetime opportunities. But one camera almost everyone has with them is their cell phone.
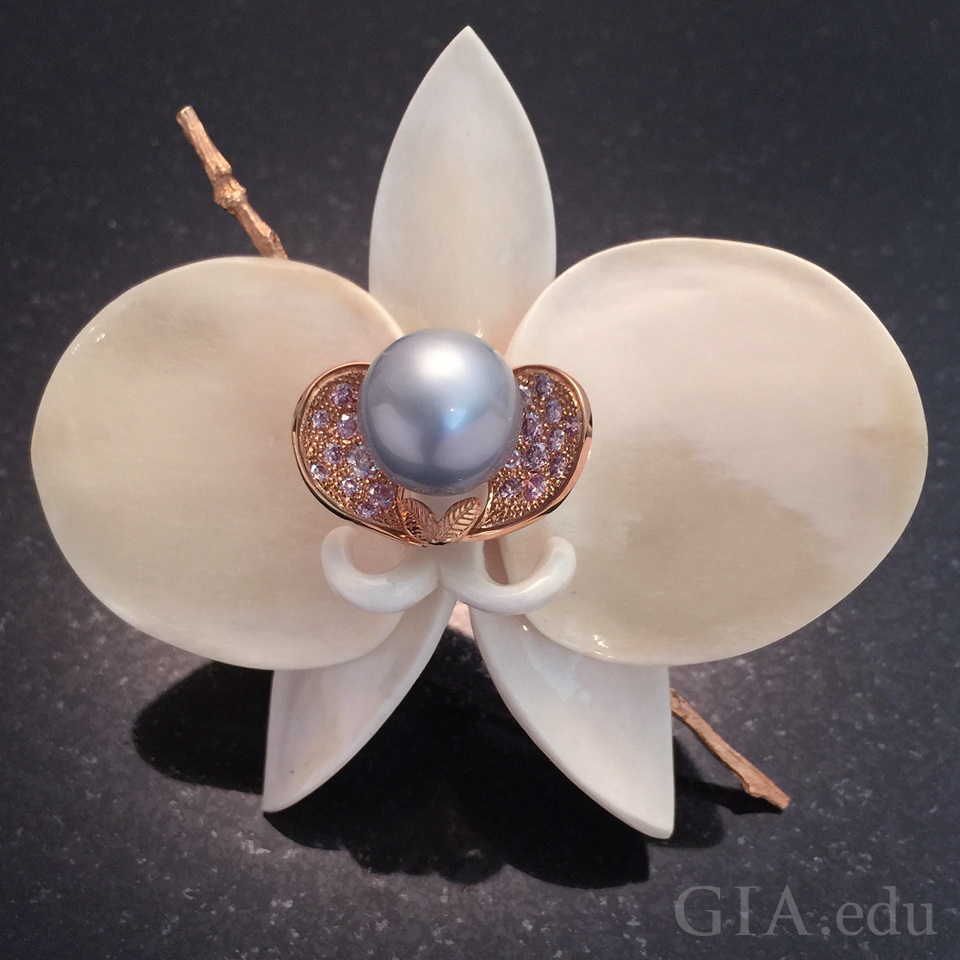
Jewelry brooch by Katey Brunini is composed of carved cow bone and 18k rose gold, with approximately 1.60 tcw fancy pink diamonds, and a 15.5 mm Tahitian pearl. iPhone photo using diffusion vellum paper and a granite tile. GIA Collection. Photo: Robert Weldon and Denise Conrad/GIA
You can use your phone to take pictures, upload them to social media sites, send a text message or e-mail instantaneously. But while phones have made taking and sharing images as simple as 1-2-3, capturing the elusive beauty and sparkle of a gemstone can be challenging.
If you’re aiming for perfection, photographing gems and jewelry can seem intimidating. You’ll hear professionals talking about large format cameras, single lens reflexes, or interchangeable lenses, lingo that may sound alien to someone lacking in photographic knowledge. And after a dozen failed attempts at taking a “selfie” of your engagement ring or favorite piece of jewelry, you may be ready to give up. Don’t!
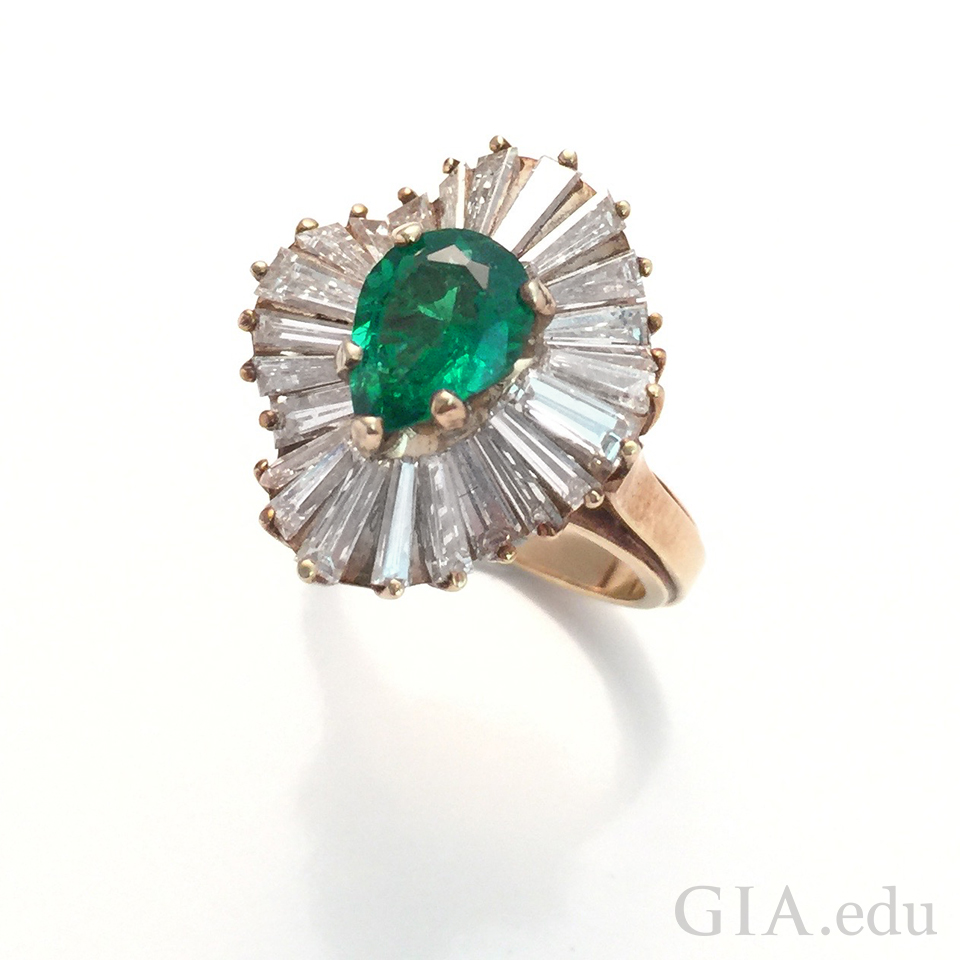
This emerald ring in a yellow gold mounting with tapered baguette diamonds is from the GIA Collection. It was photographed on a white tile background using museum wax to hold the ring up. Diffusion paper and reflector cards were used to light up the gems. Photo: Robert Weldon and Denise Conrad/GIA.
We asked GIA photographers, Denise Conrad and Robert Weldon (Robert is responsible for shooting and processing many of the breathtaking gem and jewelry photos featured on our blog and website) for their professional advice. They assured us that anyone can shoot professional-looking images with an iPhone or Android camera – and a tablet, too – by keeping some techniques mind. So here we share a few of their photography tips to help you create stunning gem and jewelry photographs sure to get you the most likes, comments, and shares!
Before you begin.
- Visit sites like Pinterest or Etsy to get ideas on composition and lighting.
- Clean your jewelry. A photo is only as good as its subject – so don’t forget to make sure the jewelry you are shooting is as immaculate as possible. Every piece of dust, small mark or scratch will show up in high-resolution photos, especially those taken close up. Unseen by the naked eye, fingerprints can photo-bomb your beautiful jewelry. Use a soft, clean jewelry cloth to wipe down all pieces prior to photographing and each time after they are handled. Wearing clean gloves is another option.
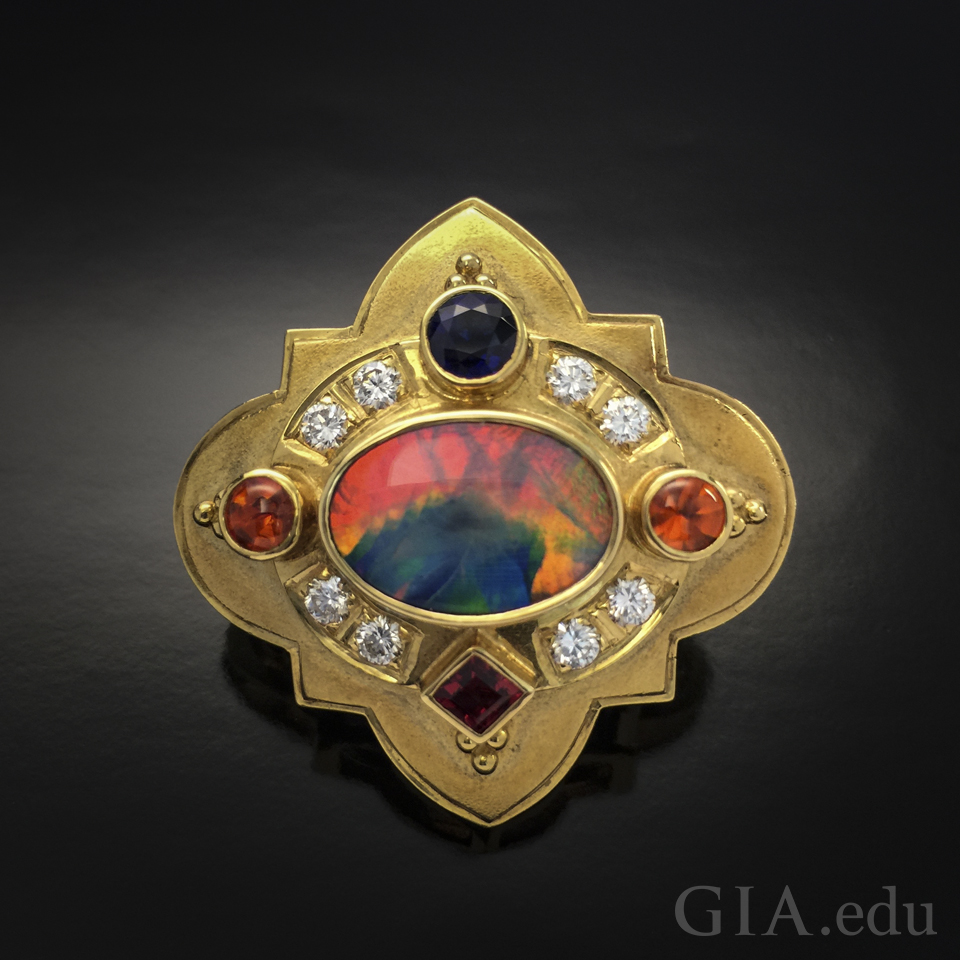
This yellow gold brooch called “Sandia Sunset” by designer Paula Crevoshay features a 6.18 ct black opal, 2 spessartine garnets, 1 red spinel, a Sri Lankan sapphire, and diamonds. GIA Collection. It was photographed with an iPhone 6 using vellum diffusing paper and black reflective background paper. Photo: Robert Weldon and Denise Conrad/GIA
Carefully decide on a background, since the color of the background can influence the color appearance of metals, diamonds, and other light colored gemstones.
- Use a white background. Keeping a clean white piece of paper, plastic or tile as your background keeps the picture uncluttered and will help you obtain a correct color balance. White backgrounds bounce light back at your subject matter, so you are apt to get less distracting shadows. Gems with poor cutting often look a bit better on light backgrounds.
- Use a black background. Light toned items often look better on darker backgrounds because contrast adds drama. This technique often helps you isolate jewelry.
 Consider your lighting.
- Use a single color temperature of light. If you photograph in an environment that has mixed lighting – like fluorescent, incandescent, and daylight, try and see if you can find a place where you can isolate one kind of lighting, and use it as your principal source.
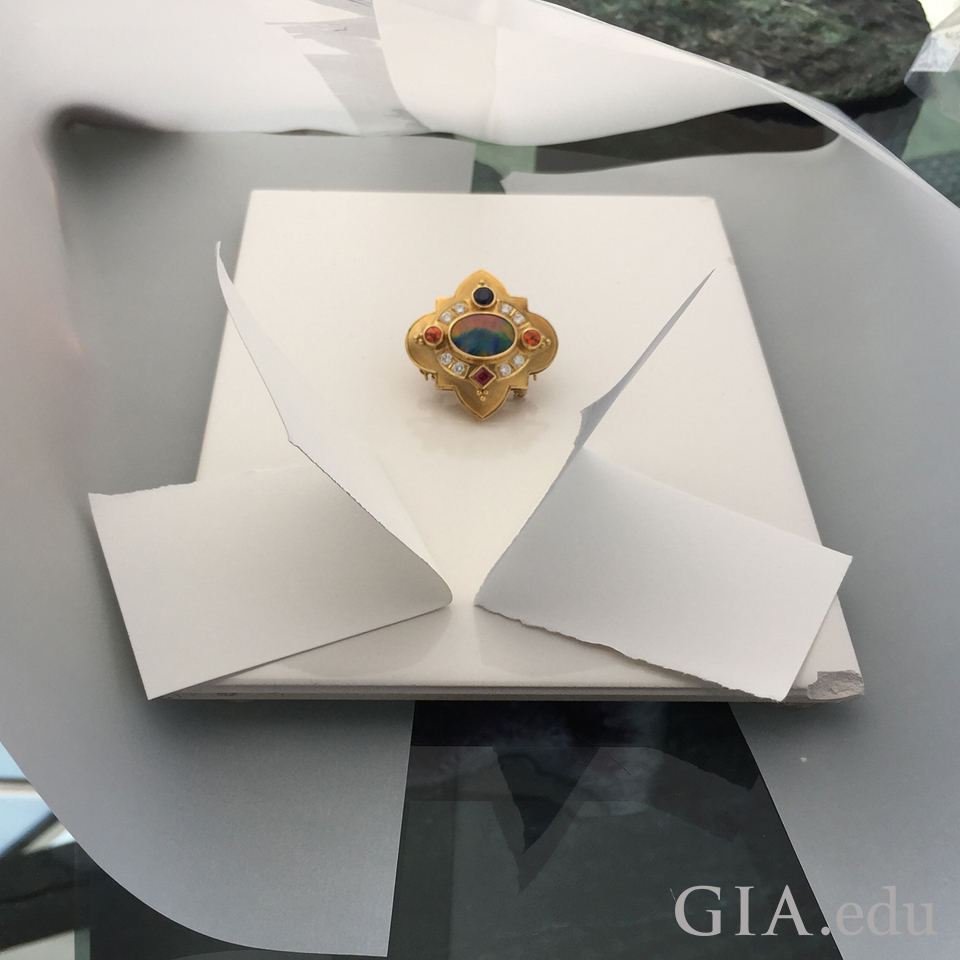
- Bounce light. Add cards or reflectors to your stage to help bounce light towards your subject. Styrene is preferred but in a pinch, you can use an envelope or card stock.
- Use diffusion to help spread the light. Diffused lighting, which scatters light, softens shadows and provides uniform lighting for your subject. Tracing paper, onionskin paper or translucent vellum work well to scatter light, cast soft shadows and bring out the best color in a gemstone. For example, you can curl the paper to make a translucent tube in which to photograph your subject. Or youcan opt to use a light box. Photo supply stores sell them, but it’s easy to make your own.
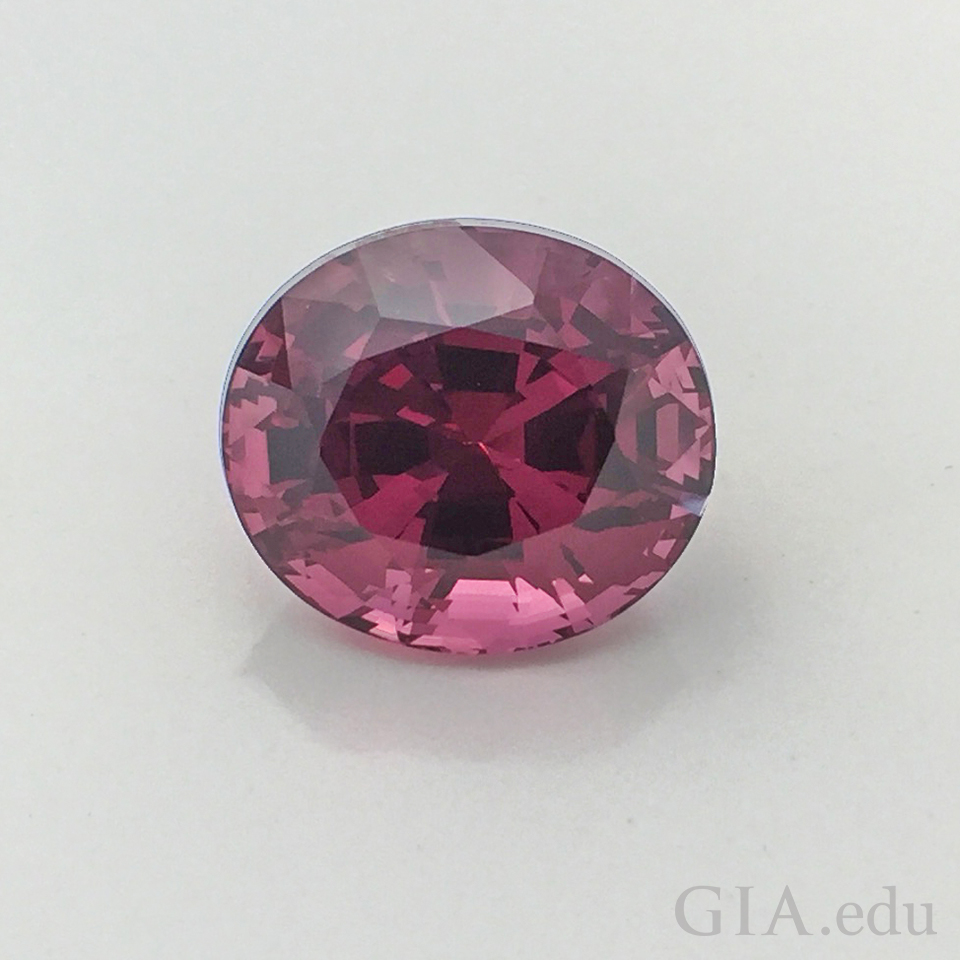
Faceted spinel, 10.27 ct from GIA Collection. Photographed using an iPhone on a shiny white tile and with light diffused by translucent white vellum. Photo: Robert Weldon and Denise Conrad / GIA
Select the best lay-out for social.
- Images for Facebook, Use a square photo format so images will be optimally sized for Facebook’s newsfeed and receive the best engagement.
- Images for Instagram. Use square or landscape photo formats. For landscape images, select the NEW “Format Icon” so the composition isn’t compromised.
- Images for Twitter. Use a 1.85:1 or landscape photo format so the full image appears in your tweet for optimal visibility.
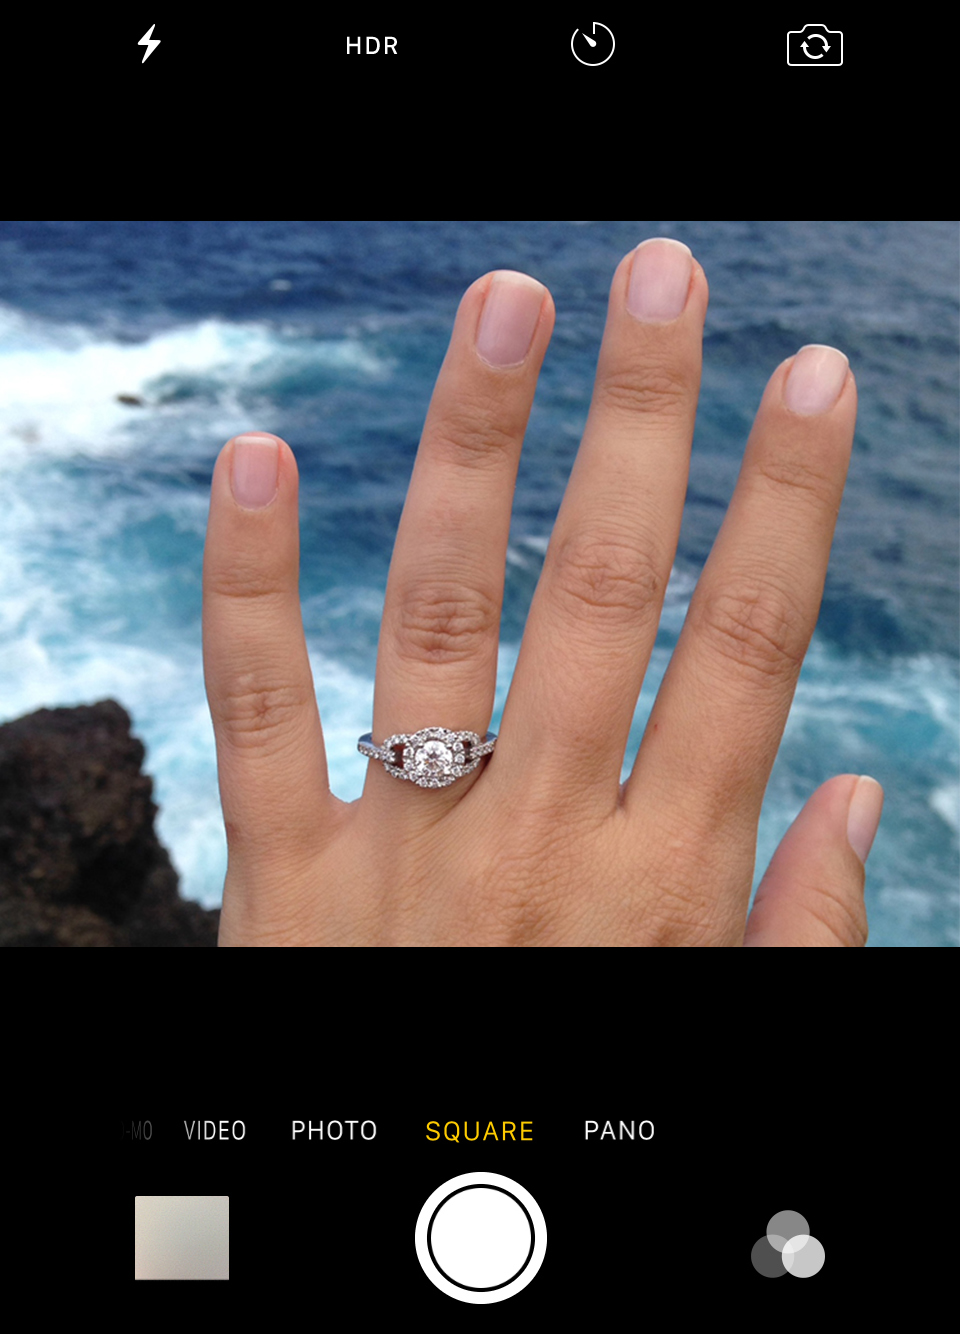
Engagement ring “selfie” captured in Hana, Maui. Photo: Shayne Ebrahimi
Hold steady and take the picture.
If you don’t have a tripod for your phone, such as a Gorillapod ™ , make sure your cell phone is on something sturdy before snapping your photo or tap on the screen so the box focuses in on your object.
Process your image.
Do this before you walk away. Apps right on your phone can help you adjust color balance, crop and otherwise get your gemstone or jewelry piece to look the way it appears in real life. This will avoid colorcasts (unwanted tints in the image), and help you transmit the image you want your friends, and family to see.
Be cautious when sharing.
While you want to show off your beautiful engagement ring or treasured piece of jewelry, it is always better to be safe than sorry when sharing diamond and gemstone pictures. You don’t want strangers to know what sort of jewelry you may have stored at home. This means making sure your security settings allow sharing with friends or select groups of people only, or texting the photos privately among family and close friends only.
If you get really serious about taking great gem and jewelry photographs, GIA pro’s suggest looking into more specific apps and attachments. The list below is a very short one – there are many more available, so do your research to find the one that’s best for you.
Apps:
- Camera+ great for sharpening photos over the regular edit tool
- Instafit retro-fit photos with white borders for a more artsy look
- PicTapGo for easy editing and color correction
- 645 Pro Mk III provides a little more control over ISO, WB, filters, etc.
- Retouch to delete any distracting elements
- iWatermark to watermark all your images
Attachments:
- ōlloclip macro is a good one and is easy to carry around
- Photojojo.com is a great resource for macro lenses and other gadgets
Practice makes perfect when it comes to implementing these photography tips. Take your time really getting to know how your phone works, what lighting you like best, and how the background affects the appearance of different jewelry metals and gemstone colors. You will be producing professional-looking jewelry photographs in no time!
Main image courtesy Getty Images/Hero Images